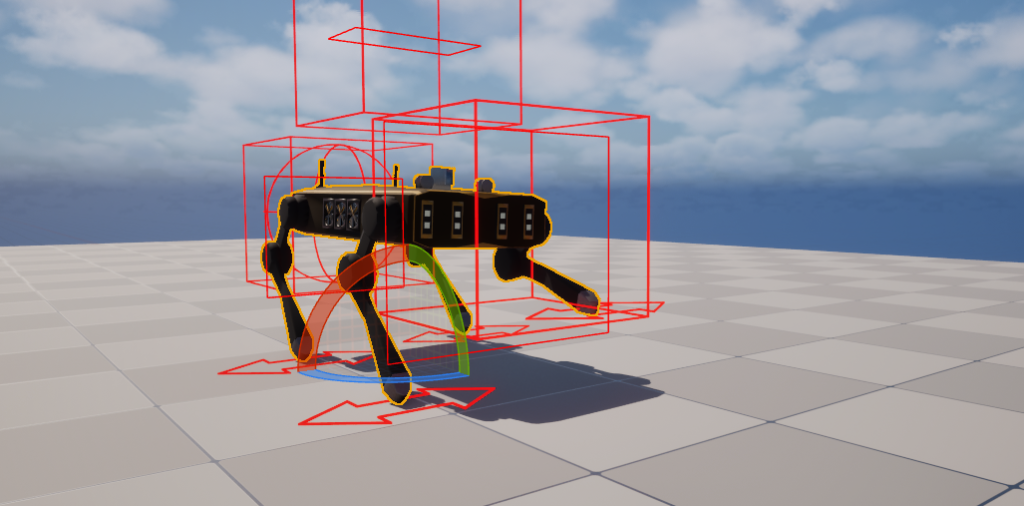
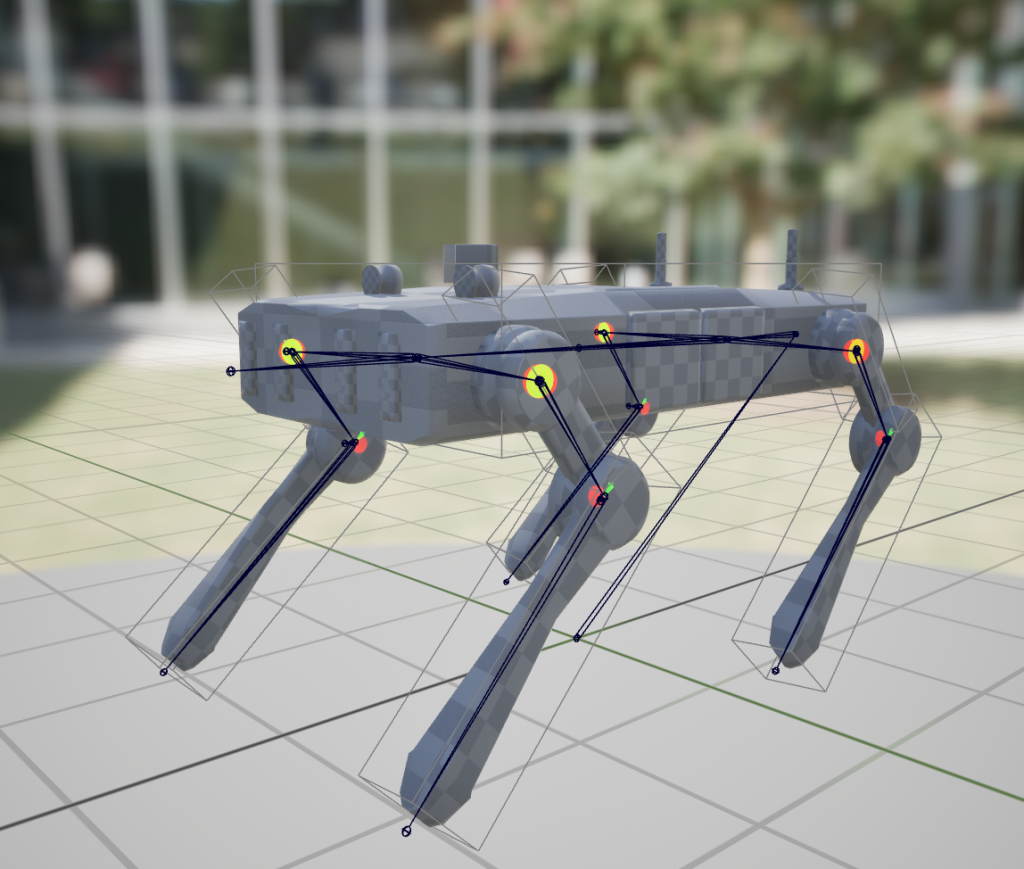
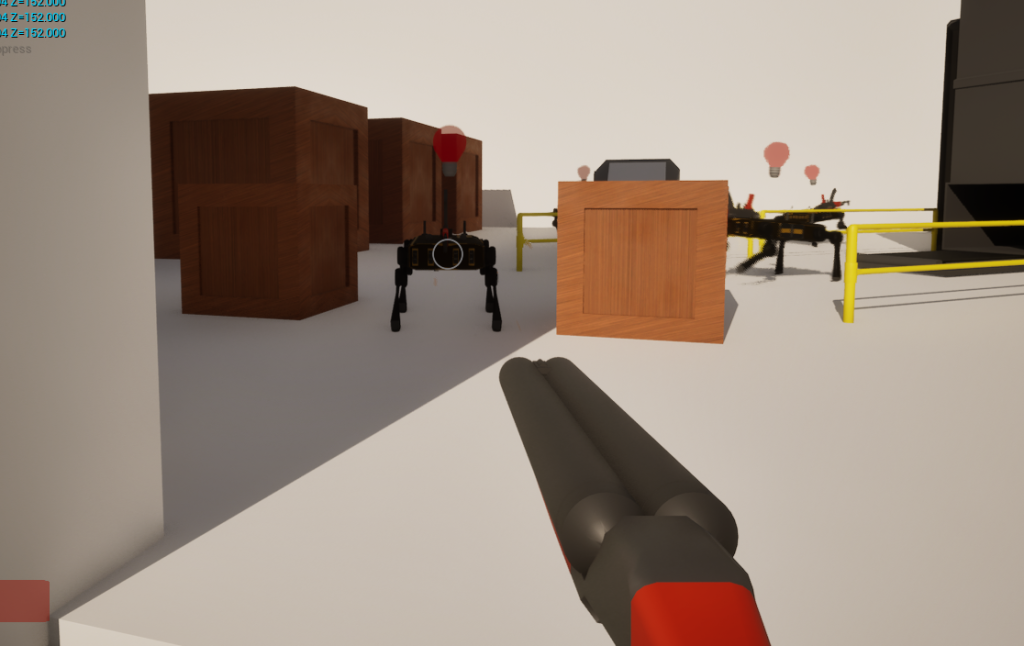
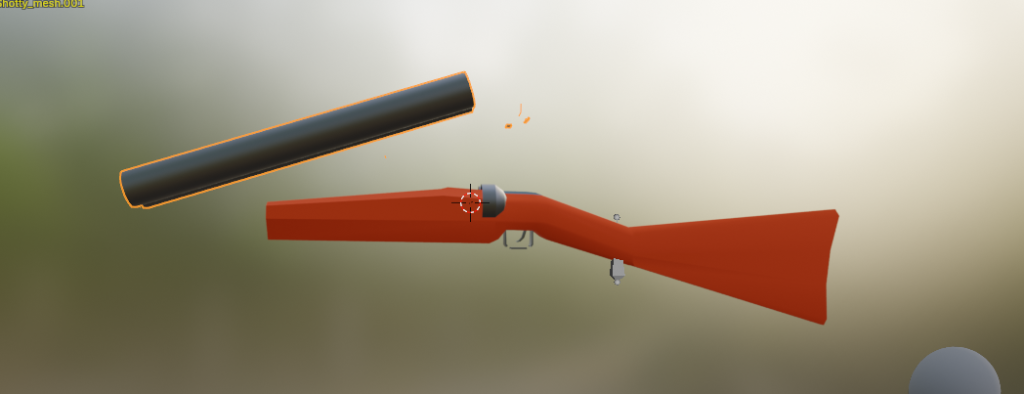
Progress?

Been doing more with the game and got to the point where levels are starting to feel like levels and my “assetImports” folder is blowing up.

More work still needed but I’m starting to get a warehouse vibe that I think I’m going to roll with until it gets stale.

I pretty much gave up on the hit reactions for now. If I come back to that I think I’ll need to make a human-style character, then look through some unreal tutorials before I can move back to the bot.

Three Laws? Pfff…

THE GLORIOUS ROBOT ARMY HAS BEEN CREATED

Working on these guys made me pull in all of the knowledge of unreal and blender I’ve learned over the years. I’ll break it down into hurdles that I had to overcome.

1.) Retargeting skeletons

All of these models have their own skeletons, and each animation that you import has its own skeleton assignment. For the life of me I had no idea how to swap animations that I imported from version 1 of a model to version 2 (i.e. all of the skeleton bones had the same names). I went down a dark path of ik rigging just to realize I should’ve just right clicked a single animation.

…nuts…I had to re-import the assault rifle because I removed the stock for the bot and I made a new animation for the bot:


2.) Making the bots reload.

Again so the goal was to make the bots throw a physical object into the air so that the player would have the opportunity to shoot it. This is a crazy concept that requires a lot of tweaking to get right. The idea here is that I mark a point on the back of the bot as a “throw point” where I spawn a mag.

Then Unreal has a system called “Animation Notifies” which lets me communicate from an animation asset through an animation blueprint back to the controlled pawn.

You can see there are two here: “release Mag” which is the bot dropping a mag and “Spawn Mag” which creates and throws the new mag.

These are then tied to triggers within the animation blueprint to call back to the pawn.

Honestly not a great system but its apparently how unreal wants us to handle these things. Ideally you would have a nicer hierarchy of ownership but making what I would consider “Good” software left the room once I decided to go with blueprints.

3.) Unreal’s AI is helpful and horrible at the same time.

The tree I showed yesterday was very simplistic relative to this. When looking at this the first reaction is “oh yeah that makes sense” then “wait why would you do it this way” then finally “I don’t understand what this picture is”. So quick explanation: start at the root node, go down to the sequence node which triggers the nodes below it from left to right. The green box uptop is called a “service” and essentially is a while(true) loop that triggers while the sequence is executing. The blue boxes are if checks that happen before executing each node, for example “doIHaveAmmo” is used twice here and checks if the bot has ammo before executing. In the event that these blueboxes return false the entire sequence is canceled and you go back to the first node in the sequence(which in this case is the reload node).

4.) Niagra confuses me and I might get back into HLSL to avoid it

I made the muzzle flashes but I still kinda hate how they look. I started trying to make some 2d stuff but that ended up not really working:

The idea there was to try to make a ribbon that had a sinewave of width that would be lower frequency and a radial sinewave that would give bumps on the side. That didn’t really work however.

Then I got creative with making a mesh in blender and importing it in as the firecloud that comes out the front of the gun.

I stuck with that 2nd iteration and it seems like its better than the ribbon but I still want some more cloud-ness to it.

When firing (as seen above) it kinda looks like an orb just kinda spawned in front of your barrel. Most other games try to do this with 2d sprites however I’m a big fan of 3d sprite muzzle flashes like those from the tf2 announcement trailer:

Image taken from : https://gamebanana.com/mods/198837

I might just add some more spikes onto the current model and call it quits on that front.

Now next up for work is probably the environment, I have a bunch of reference images of place I thought were cool in boston and the surrounding area I’m going to try to generate some textures using them as inspiration. I then eventually have to do audio but I’m really dreading looking back into unreal’s dsp system. It’s very intense (and I literally do hardware based DSP in my day job).

Enemy #1

Woo! Got some animations in game, I made the mistake of thinking that Unreal engine control rigs were actually something useful for what I’m doing. Once I found that out I just gritted my teeth and did the whole animation process in blender and transferred it over into unreal.

These animations will definitely need to be remade at some point but I’ll punt on that until I think I have a level of robot shooting going on.

Rigging Woes…

I tried being clever and pretty much wasted 6 hours….

I spent a bunch of time rigging up this model, a large portion of the time was spent undoing the dumb modifiers I put on the legs. Specifically I used array modifiers and mirror modifiers to generate the legs after making the first one.

Using this technique ensures that when you finally go to export you need to manually re-assign origins somewhere on the model which is something you really need to keep track of when rigging properly.

This all went good but I decided to put the bones 90 degrees offset because I thought it would make it nicer to manipulate. Which I would say is true if I was going to manually manipulate the bones. However, I tried getting smart and moving into unreal engine control rigs: https://dev.epicgames.com/documentation/en-us/unreal-engine/control-rig-in-unreal-engine

Which in theory should let me animate in unreal, which would save me an export/debug step which I normally have to do from blender. However I kept hitting weird issues with setting up controls and having unreal auto-recognize things… Then I noticed the issue once I tried testing the physics asset:

So that isn’t good. Essentially unreal makes a set of simple geometric shapes that it glues onto your model when you import to try to get a good collision box setup. In this case me twisting the bones make the system give up and just surrounded the body with a capsule and legs with one big box:

So I attempted to fix this (which looked good)

…But then I hit the next problem…

What’s going on here is that there’s a parenting loop going on. Looking back at the original model I put the bones 90 degrees offset from the mesh (again because I think I’m smarter than how everyone does stuff).

With the bones offset from the mesh I had to apply the physics geometries to the mesh itself rather than the bone. So then unreal was trying to modify the position of the mesh, but the bone had no constraints to the physics so it tried putting the mesh back, then the physics manipulated the mesh, then the bone manipulated the mesh, then the physics manipulated the mesh, then the bone manipulated the mesh….So that comes out with the result you see above which is everything kind of giving up. The fix here is to re-orient the bones so I can attach the physics geometries to the bone….I basically wasted my morning setting myself up for failure. However this is the first complex mechanical mesh I’ve ever done so it’s still a learning experience in my head.

Bot Attempt 2

Remade the robot for the game. This one has some more real world inspiration and is quadruped which I think should make some of the animations easier (easier in concept not really execution).

There’s still some work I might do on the front (there’s that blank space) but I might just stick with this one to rush it in game.

In my head this is a converted cargo type robot, and I wanna keep the same idea where a new magazine shoots out of the back and the robot has to catch it. I keep having this idea that the player should be able to identify this and can shoot the magazine before it gets to the rifle.

…I know…i know…I know

Another FPS Model

Spent some time today setting up and rigging an assault rifle for the game.

It’s still kind blocky but any more effort on this would end up being on details that are un-needed. My main goal with my current modeling streak is to rush a bunch of stuff in game to make a simple fps.

It seems to be looking fine in unreal also.

Now that I have two bonified animated weapons in game (I’m aggressive not doing any reloads, just goldeneye style hide weapon reloads) I can start working the enemy side.

I have some ideas but mostly I’m thinking some kind of drones rushing you and moving in inhuman ways. I have a start here but I think I need to redo the legs/locomotion of this guy.

Which I honestly love the idea of a robot that had a gun stupidly stuck to its head by a redneck super-villian. But the more I look at this guy the more simplistic it seems. I was going for capturing the vibe of modern robotic arms (such as: https://www.devonics.com/product-page/ufactory-xarm-5?utm_source=reachlocal&utm_medium=cpc&utm_campaign=googleshoppingdevonicsincroboticarms&gad_source=1 ) but I don’t think they actually look as cool as I wanted.

I am, however, proud of this top portion:

Maybe not so in execution but definitely in concept. I could take down some of the work I need to do if I just re-use models on the enemies. If I get a good single enemy variant down I can just throw other weapons on top to provide differing variety of enemies.

The whole world

My friend is making a webpage that handles a dashboard to some cyber security stuff and he asked me to make a globe.

Well technically he didn’t ask me he just suggested that we get a spinning globe on there. Instead of googling for a free solution like a reasonable person I thought “That sounds dope” and I rushed to make a globe in blender (cough cough https://globe.gl/). However the globe ended up being WAYY to good.

The “land” parts are pulled from a open source/royalty free topographical map from nasa https://visibleearth.nasa.gov/images/73934/topography

The data is then converted into a normal map and I make a blue -> brown -> green gradient on the maps which isn’t always accurate (which is why there’s no inland water, such as the great lakes.

I was debating on texture painting in the blue where it obviously should be but that was pushing it in terms of how long I wanted to spend on this. Majority of my time was spent integrating the globe into three.js , then wrapping that in a class which then got wrapped in a react component. However, I’m pretty happy with the results. Only other cool thing I could think of doing is adding some kind of wave effect near the shores but because the exported diffuse map is like 3 mb I didn’t want to add much more here.

If you zoom in enough some things are just missing, for instance. Delaware?

My plan there is to solve in post processing in the actual react widget to draw some state lines.

The end goal had lat/long lines, a alert system and a cursor to select said alerts. Pretty dope all in all.

(I also weirdly made the stars in the background in blender by threshold-ing some noise)

Okay kbar

I made a knife in blender and pulled it into unreal.. Haven’t rigged it up yet but the plan is to get a skeleton on it sometime tomorrow and throw it in the game. Maybe at some point I’ll start making the “game” but right now I’m just living off of this new .gltx high.

There’s probably some huge gotcha with the .gltx that I’m not seeing because this has been some of the easiest imports I ever did.

Even the sizing was easier. Man why did anyone ever make tutorials using .fbx?

Animation Nation

This morning I put some more effort into the glock. Added a 3 bone skeleton + 2 quick animations. My goal here was to rush into unreal to get a good feel for things. On that front also I’ve realized I have been making a mistake for the better part of 5ish years. I’ve been exporting as .fbx because I assumed that was an industry standard, but I soon realized from looking at a few blender forum posts: https://devtalk.blender.org/t/fbx-binary-file-format-specification/20814

The reason .fbx is so damn buggy is not because a general “asset pipelines are hard” it’s because the damn thing is a reverse engineered shit show. I always assumed there was no way to get blender materials and shaders into unreal but if you dump everything into a .gltf then EVERYTHING GETS IMPORTED.

The magic gltf button…

Only downside is that your scale factors dont transfer over and 1.0 unit is always going to be 1 inch. But honestly that’s soo much easier than memorizing the settings for unreal (scale: 0.01, units cm if you were wondering).

Praise blender gods they’re all there!

Now with that I setup the ol’ unreal animation pipeline. This always feels like a chore to me, I should really package up a template for this character pawn and the animation blueprint into a package at some point and maybe distribute it on the store. Maybe I can save a younger dev on going through the same crap that took me a few years to understand. To re-iterate the process

1.) Import all of your animations (INCLUDING AN IDLE OR T_POSE ANIMATION), ideally you would make the model + rig in one file and throw animations in the other. Then upon import click your pre-made skeleton from file A and then only import animations from file B (makes life so much easier).

2.) Make a new animation blueprint, open it, go to the “AnimGraph”. Right click on the grid, type “state machine”, click state machine, drag a line from state machine to the “Output Pose” block.

3.) Double click the state machine to start editing.

4.) Right click, hit “add state” name the state “Idle”

5.) Right click, “add state” name the state, “Fire”

6.) Drag lines from “Idle” to “Fire” and from “fire” to “Idle”

7.) Double click your “Idle” state to open it.

8.) Right click and type the name of your idle animation and the one that says “play animationName” click it. In my case my idle animation was called “glock_idle”

9.) Drag a line from your idle animation to the output pose so it looks something like this:

10.) Now repeat steps 7-9 with your fire animation (use the top bar to back out back to the state machine)

11.) Now add a new variable called “isFiring” to your animation blueprint (make it a boolean) and make sure it’s a public variable (make sure the eye to the right of isFiring is open)

12.) Double Click the symbol above the arrow that points from “idle” to “Fire” (I’ll call this the “Transition Symbol”

13.) Get isfiring and drag it to the “can enter Transition”

14.) Back out to the state machine and click the transition symbol for the arrow that goes from “fire” to “idle”

15.) Make this blueprint (“fire_001” is the name of my animation).

16.) Now go back to your “firing” state, click your firing animation and scroll down to “isLooping” , hit the bind drop down and select “isFiring”. (If your making a fire firing gun you wont see any difference in this step, but for a pistol it will clean up the transitions in and out of the “firing”state”)

17.) Now click “Compile” in the upper left, then at the lower right check “isFiring” and your weapon preview in the upper left should start playing the firing animation. (Make sure you have “edit selected instance” checked when you mess with this. “Edit Defaults” sets what value “isFiring” is when the blueprint starts, you want that to be false.)

(Ignore the sound and the sparks, besides the fact they suck we’ll get to there in a bit).

17.) (Optional Step) By default the blending mode when transitioning states tries to blend from idle to fire instead of just hard stopping. The default settings should be good for most people, but if your seeing your gun half shoots, then keeps shooting try this out.
Go back to your state machine: Single click the top transition symbol, in the “details” tab set duration to 0.0. This should prevent any gross slides from your idle pose to your fire pose.

18.) (From here on out I’m assuming you’re using the first person template) Now setup a shoot button in enhanced input if there isn’t one already. (See https://dev.epicgames.com/documentation/en-us/unreal-engine/enhanced-input-in-unreal-engine)

19.) In your character blueprint class add your weapon as a skeletal mesh to the camera. After adding setup the skeltal mesh to use your imported mesh, and set the animation settings to use your blueprint.

20.) Add this to your event graph.

  • Where “IA_Shoot” is the name of the enhanced input event that I made and added to the enhanced input objected use for this character
  • “Gun” is the name of the skeletal mesh that I added to my camera in my character
  • ” Glock_animBP” is the name of my animation blueprint class.
  • The print string block is for safety, if you see “BAD CAST” pop up on your screen you’ve messed something up.

21.) Go back in game and now when you shoot you’re animation will play:

22.) Now to add sounds+particle effects. Navigate to your fire animation in the content browser and double click it.

23.) There will be a playback line scrolling from left to right on the bottom, find the Time that you want to play a sound, right click on the horizontal bar that starts with “1”, right click > Add notify > play sound

24.) Now click the new sound notify and in the details tab in the upper right corner choose your sound:

25.) Back in the timeline section, next to the #1 on the left click the track dropdown and select “insert notify track”

26.) Now you should see a #1 and #2, next to the #2 right click where you want to see a muzzle flash and select “add notify” > Play Niagra particle effect. Now you should be setup to tie a muzzle flash to your animation. (Learn here: https://dev.epicgames.com/community/learning/tutorials/8B1P/unreal-engine-intro-to-niagara)

Only caveat there is that you’ll probably want to add a socket to your bone to attach the niagra system (learn that here: https://docs.unrealengine.com/4.27/en-US/WorkingWithContent/Types/SkeletalMeshes/Sockets/ ,,technically out of date but the same flow applies to unreal 5).

I really thought it would take me 10 minutes to list out what todo but it took me the better part of an hour.

Anyways as you can see the glock animations seem to be fine (I’m probably just going to do goldeneye style reloads) the sound and the muzzle flash kinda suck so that’s probably the next thing to do.

(Start of) A Pistol

I started grey boxing a glock type pistol to put in unreal. It went much smoother than I guessed it would. This was my first time trying to go from zero to 100 with using primarily reference images instead of just throwing things into blender to see what happens.

Now there’s a bunch of things missing, mostly in the controls side but I think I got a base to keep going and properly zone out each region to eventually add animations.

The biggest problems are: 1.) The back grip looks kinda bad and flat. 2.) There are no grip plates on the sides which I’m not a fan of. 3.) There’s no rail up front for mounting flashlights are whatever. 4.) the bottom and top slide don’t fully touch so there’s a small gap:

What’s straight missing is: Slide release, mag release, any text indicating what the gun is, and finally I didn’t make the mag this time around.

I think there’s also some more beveling I can do around the edges of the top slide to get things cleaner and smoother looking. But to be honest starting this surprised me, I didn’t think I had it in me to get a recognizable glock modeled, let alone getting UV’s reasonable enough to pull into substance. Definitely I’ll try to keep on this to get a base weapon into unreal.