Software guy pretends he knows Electrical Engineering
ESEA: Counter-Strike participant
Software guy pretends he knows Electrical Engineering
This one is just a stick
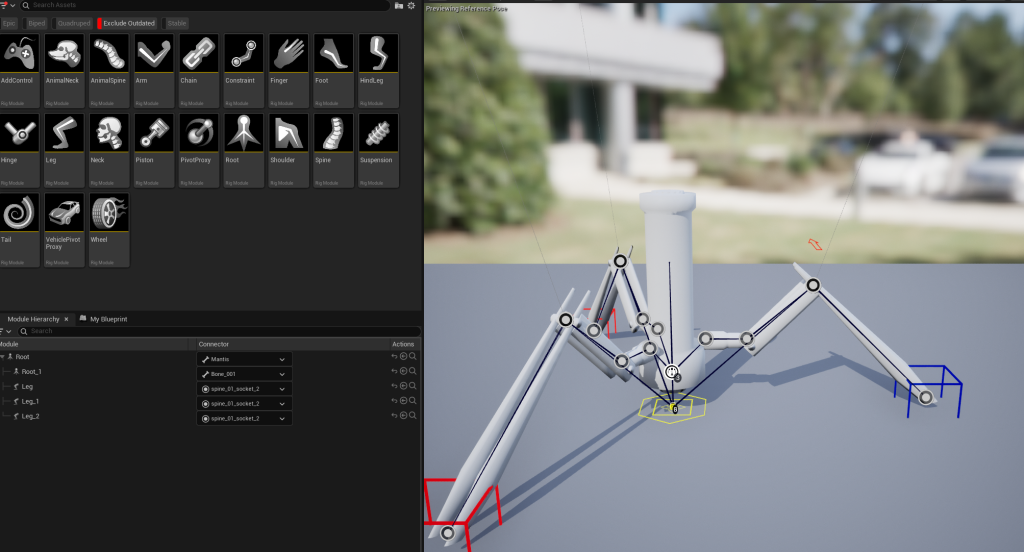
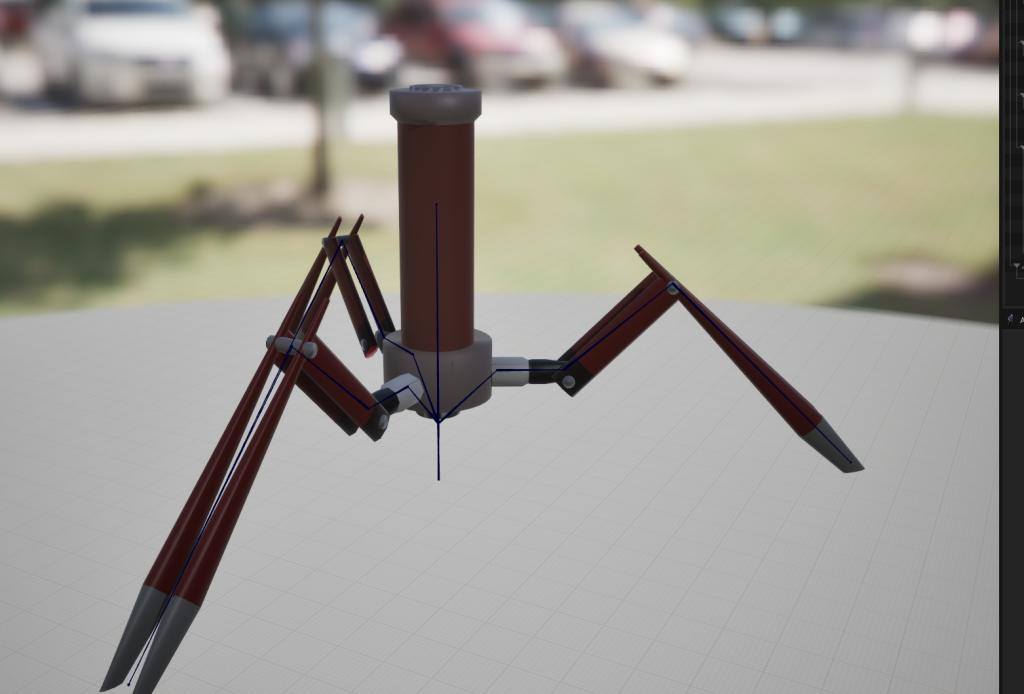
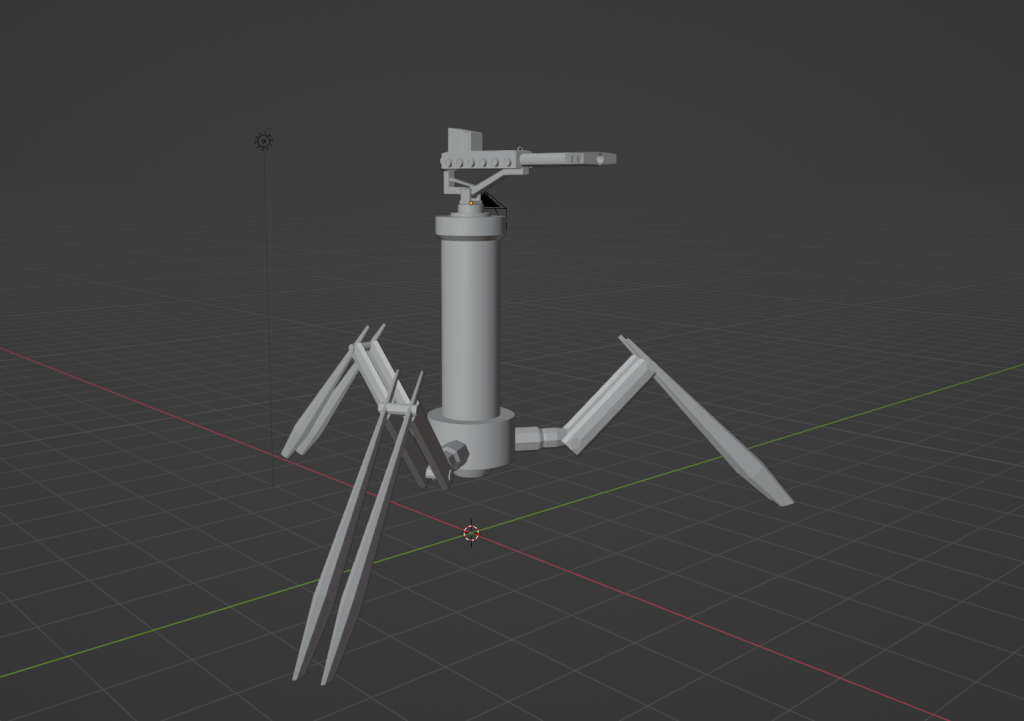
I gave up on trying to use modular rigs or IK rigs for the mantis bot ( see https://willkolb.com/?p=1239) and I I just manually made my own control rig. This is EXACTLY what I did for the patrol bot awhile back. This time around I wanted I convinced myself that last time was an lack […]
Unreal engine has its quirks. A big one I found is the idea of “additive” animations (see this). Which essentially take the animation you made and subtracts it from a reference pose or animation. This is how you can easily blend ontop of an animation instead of getting some weird median between two existing animations. […]
I spent WAY to long getting leg ground detection working for the patrol bots: It still isn’t that great but it’s probably as good as I wanted it to be. The big thing is that I can put the bots on ramps and they look kinda right: The basic idea too complicated: essentially you draw […]
I’m constantly pondering what to do about the “boss room” for the game. Honestly I’ve been stumped on how to make it fun. In the meantime I’ve done a bunch of smaller things on the game such as: Another map I tried my hand at making a much much bigger map: The thought was that […]
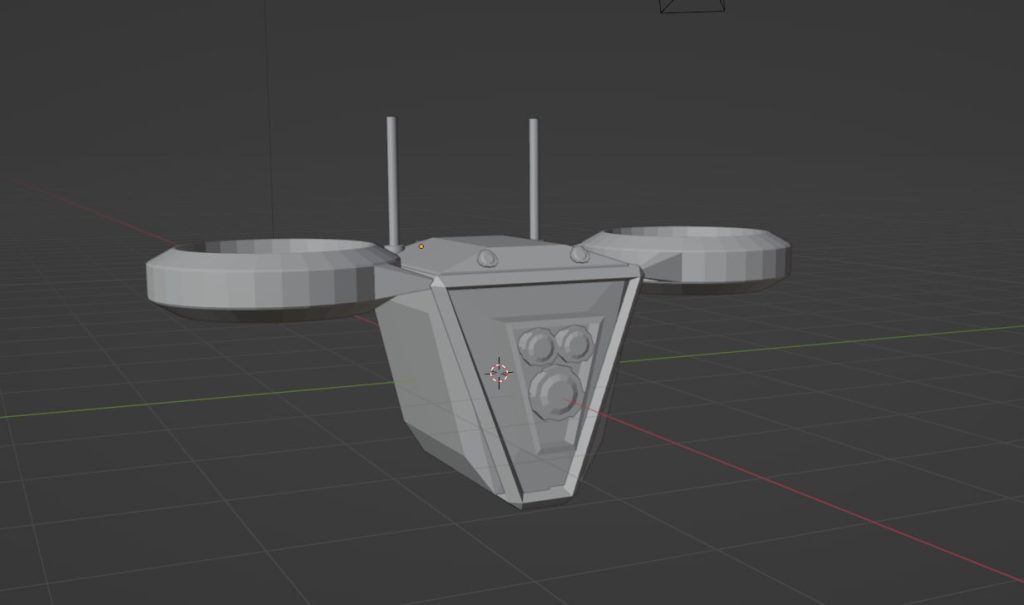
Made a drone in blender, going to try to get it in game at some point. The body still looks a bit too much like a cube so I’ll probably take another crack at adding details.
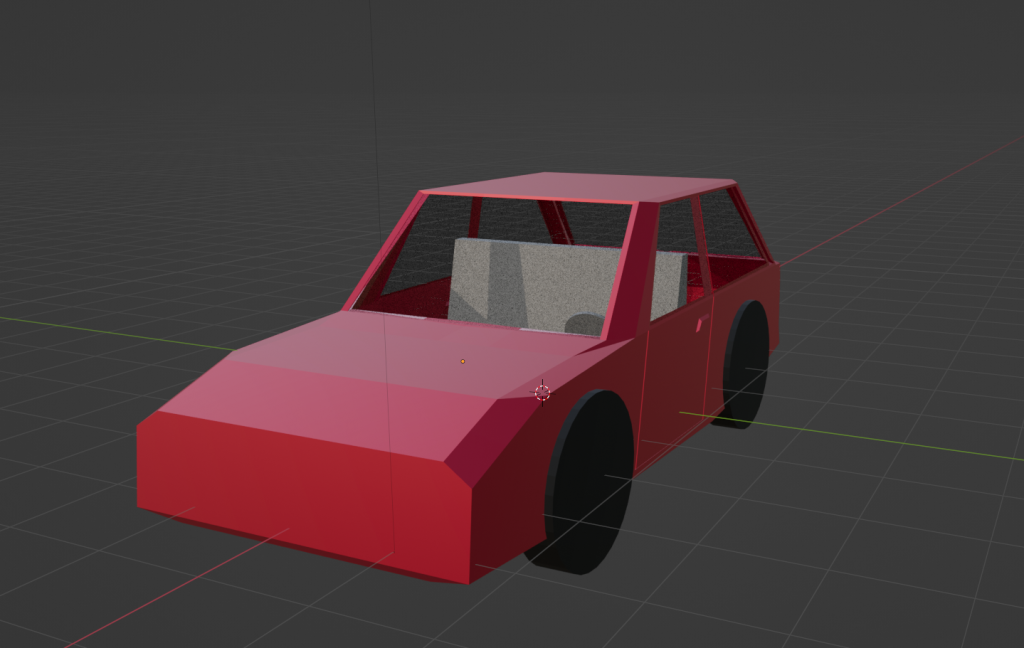
Getting the technique down to make a car. Gotta spend a few more hours on it, probably need to redo the topology also because: Breaking things down into quads always makes editing a bit cleaner, also the tires need work to be less just barrels. But really half of the battle here is the same […]
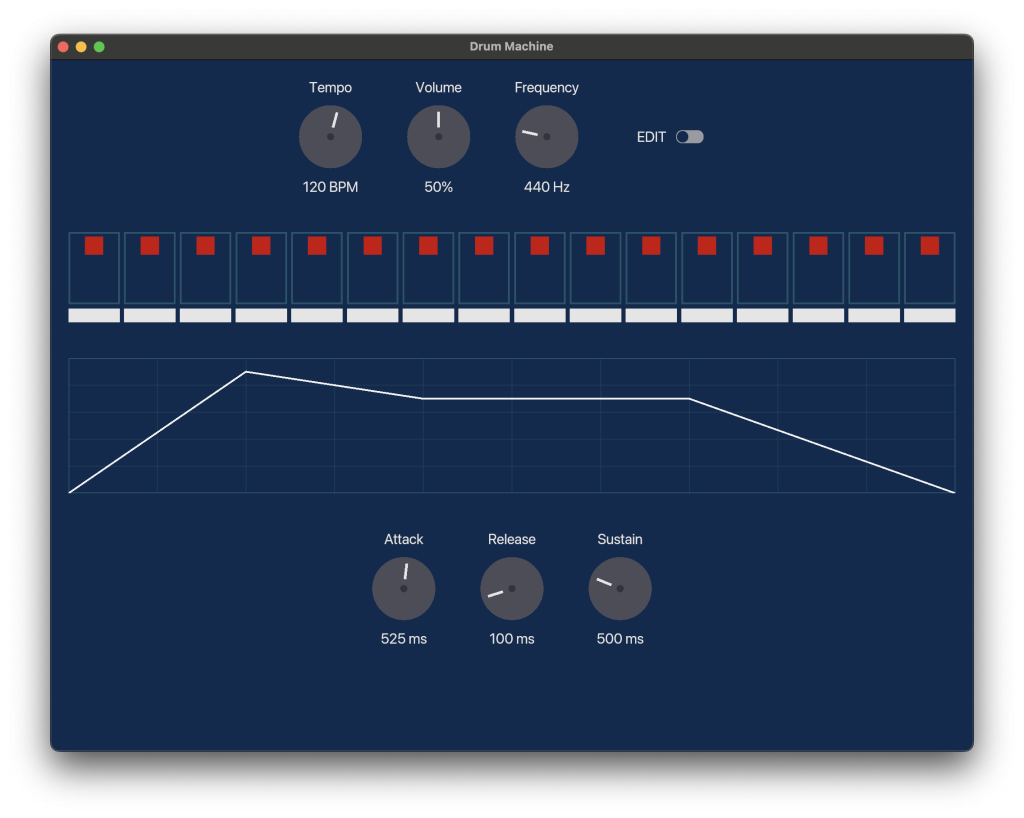
Making moves to make a simple drum machine app: It does not look good…Gotta clean that up, make it a bit more formal looking. I very much dislike the cartoony side of things. Honestly I think the audio side shouldn’t be that difficult, it’s really just a sinewave generator with a parallel array for the […]
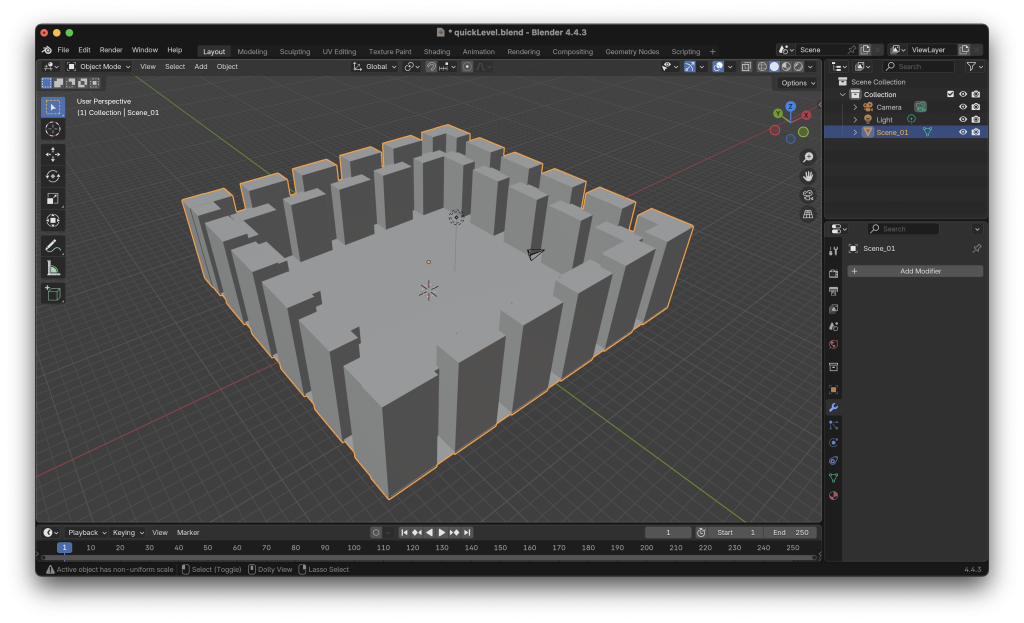
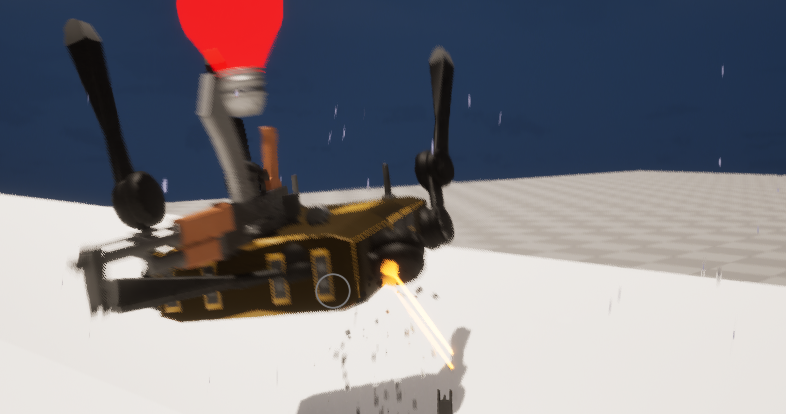
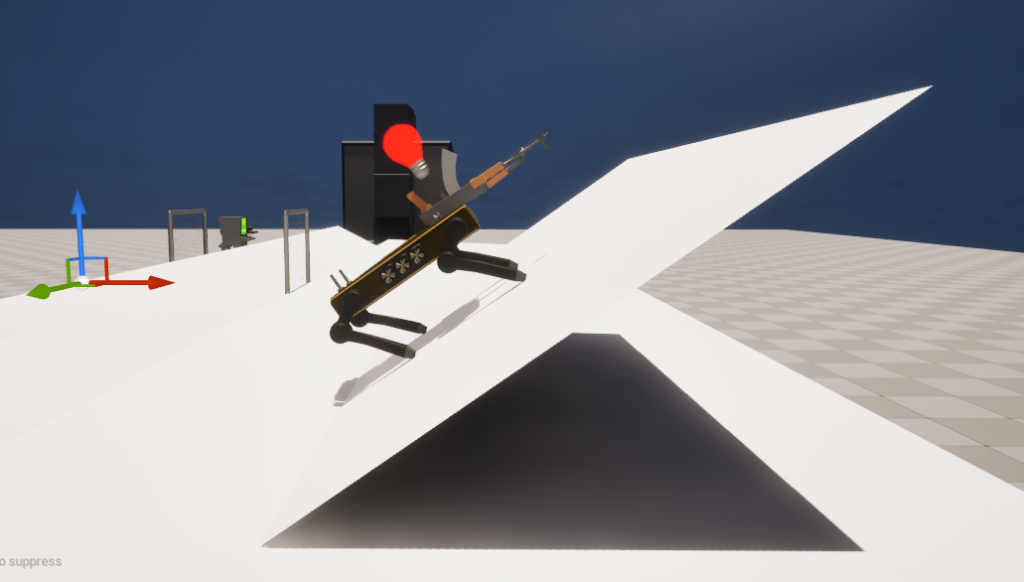
Started messing around with Bevy (https://bevy.org) which scratches some of the lower level itch I’m looking for but has enough utility things that I can spin up things kinda quick.In this case just made a first person flying camera and loaded in a scene I made in blender, rendered it red and added a light. […]