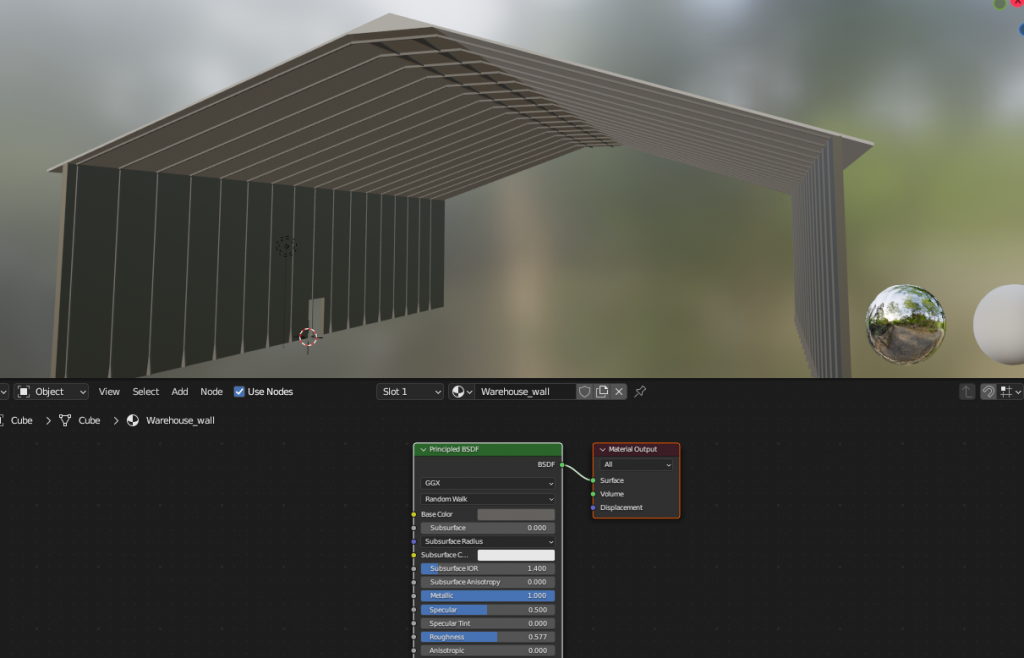
Churning through this first semi-finalized level (which will probably be the demo level). The idea here is that the warehouse will open up to an underground section.
Low pass filter all timing mis-matches
Churning through this first semi-finalized level (which will probably be the demo level). The idea here is that the warehouse will open up to an underground section.
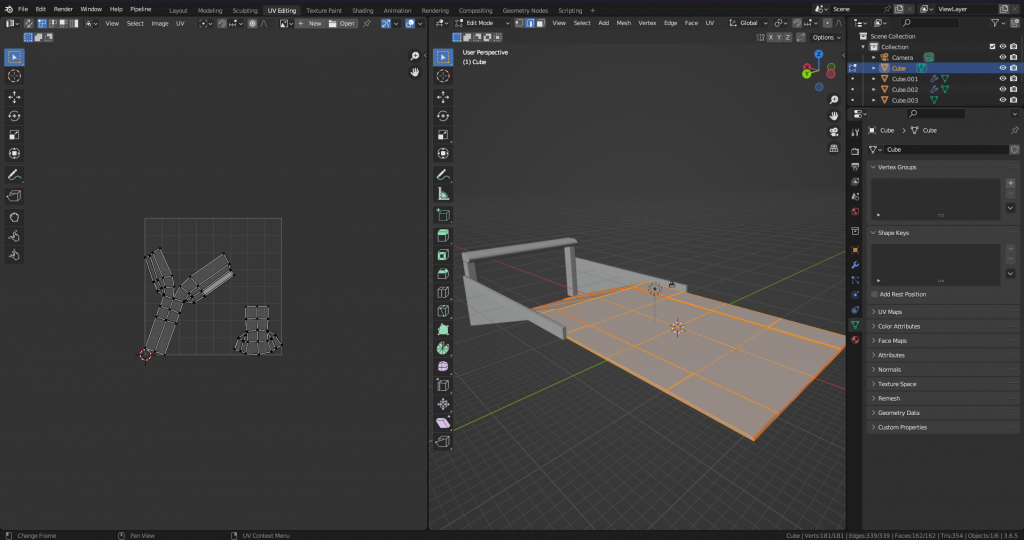
I re-wrote a bunch of the patrol bot AI to use EQS (Environmental query system: see https://dev.epicgames.com/documentation/en-us/unreal-engine/environment-query-system-quick-start-in-unreal-engine#2-environmentquerycontext ) , which should greatly simplify the the bots and give them better criteria to find spots that see the player, but are also kinda close. Here’s the EQS Tree: Essentially EQS is a way to break up […]
I made a real spawn location for the patrol bots: Isn’t too much to it, just a bunch of boxes and a conveyor that spits out the bots. I reworked some of the deployment logic so that bots are physics objects before they get fully deployed. That way I can do stuff like drop them […]
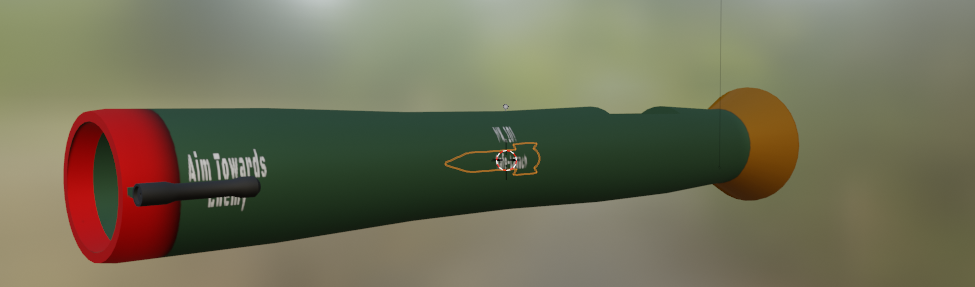
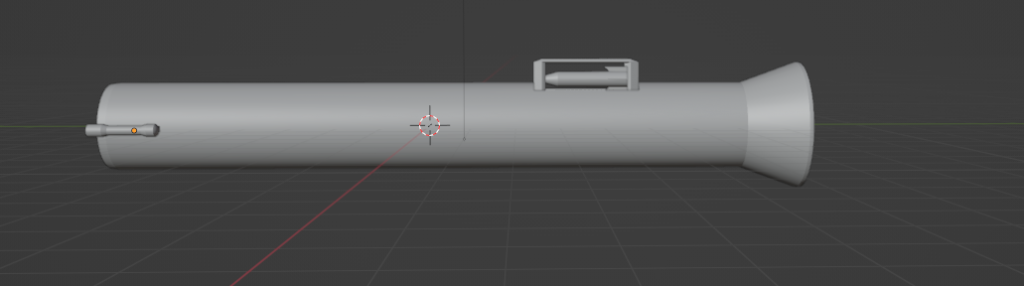
Gameplay isn’t done yet but I got some paint setup on the rocket launcher and the rocket. Threw a bunch of random phrases+numbers on it, still looks pretty cartoon-y (but so does everything atm). Next step is to get the firing + reload sequence setup.
Added a parameter to scale the grenade explosion radius so you kinda see where you’ll get hit: Its setup via user parameters and HLSL which I havent used in a while (I was fluent in the xna days, but that’s pushing 10+ years ago now) I might dig into this more just to get my […]
I kept looking at the last video I posted and got really annoyed at how bad the animations of the patrol bot looked. This drove me to remake the animation rig for the patrol bot (to be much, much simpler) and I started making a control rig in unreal to push the animations there (see […]
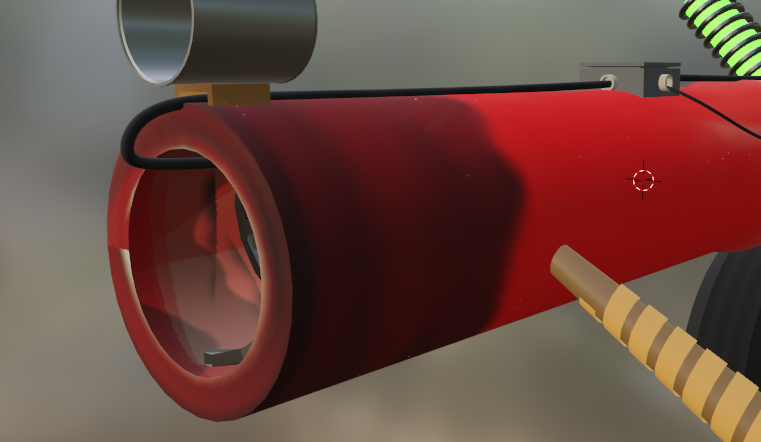
Attempted to add some color to the zapper I showed earlier. I’m not 100% enthusiastic about the job I did but I still like some of the ideas I have here. For the record this is how you setup a shader in blender for texture Paint: Essentially you make a shader that you like as […]
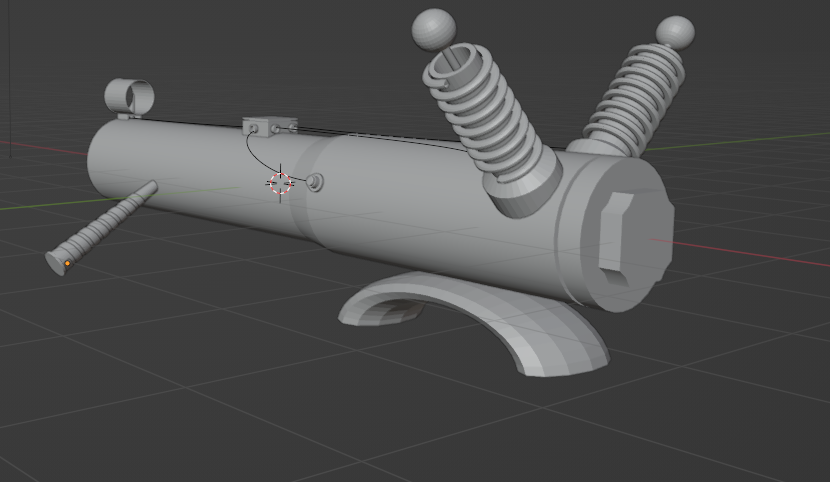
Not sure what this is but I think I might keep rolling and texture it to see where it can fit in to future projects. Other angles: The pole out the side is supposed to be the end of a baseball bat, the curve underneath I wanted to be some kind of road tire.The sights […]
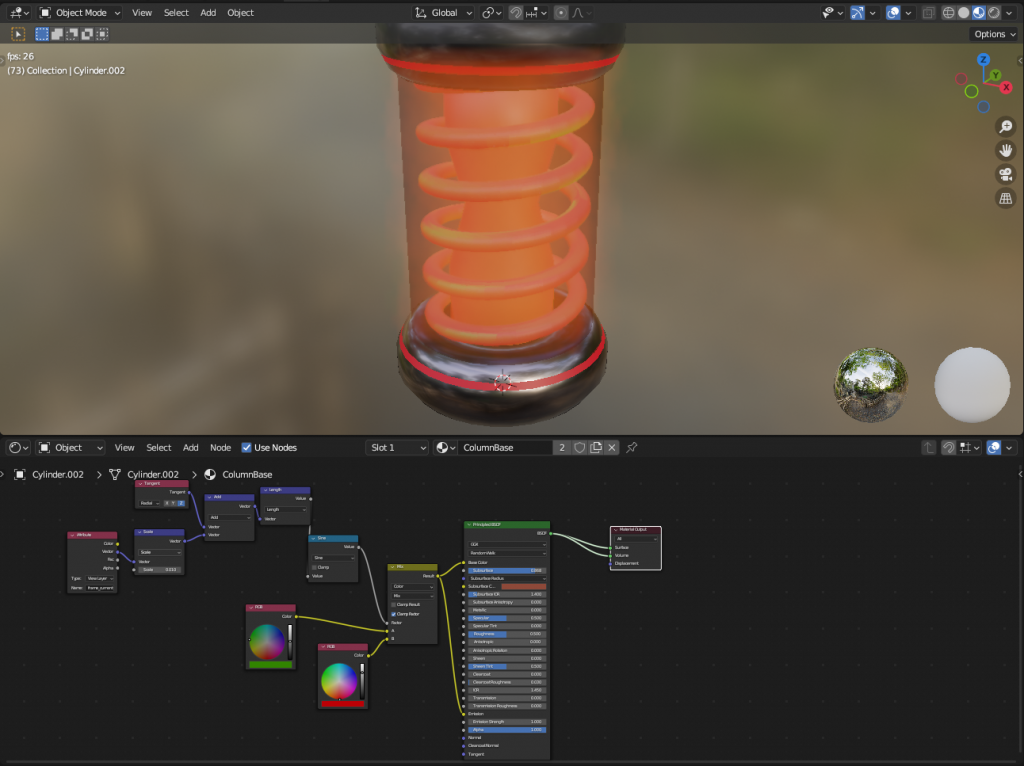
I made this thing: I don’t know what it is but its neat. The column+coil is built around taking the animation frame counter, doing some math to make a sine-wave and using that as a blend factor between a few colors. Here’s a better zoom. Not much more to show of this, the base is […]
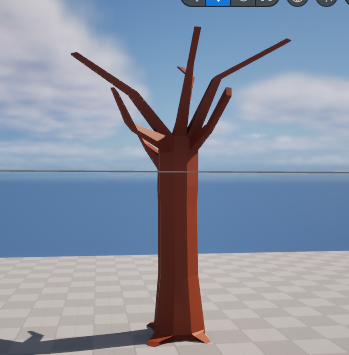
Recording myself modeling another tree. Then I realized I probably shouldn’t be posting videos with copyrighted music, so I made a song to go along with the tree recording (I used some of the pre-canned abelton clips for bass and vocals which feels like cheating but I wanted something kinda alright and fast, the drums […]